#14 HOW TO: Add images, videos, podcasts and more to your Ghost.org posts

Regardless of what content you will be providing for your readers, you will want to make sure it is visually appealing by embedding images, videos, podcasts, social media or links from any other sites into your posts. By inserting visually appealing content into your posts, it will increase the time the reader stays on your site and increase the chance of turning that anonymous reader into a subscriber. It's quite a straightforward process to embed the content. You just have to do the hard work of making it engaging! Also, bear-in-mind, it doesn't have to be perfect, the mere fact you are adding pictures, videos or soundtracks will make the post wayyyy more exciting that just a screed of writing.
This blog post will cover:
- STEP ONE: Add images to your posts
- STEP TWO: Add content links for videos, social media, podcasts and more to your posts
- STEP THREE: For content with no embed link, add a bookmark
- Links to my other 'how-to' blog posts
If you need help with other aspects of Ghost.org/Google Domains, follow my 'how-to' blog post series linked at the bottom of this blog. A new 'how-to' blog post will be released every Thursday.
STEP ONE: Add images to your posts
There's really three ways to add images to your posts; you can add an image from your computer either a single image or multiple images in a gallery or you can add someone else's pictures from unsplash.
To upload a single image:
- If you would like to add a single image from your computer to your post, then press the 'plus' sign at the left hand side of the post and click 'image'. This is the first option on the list.
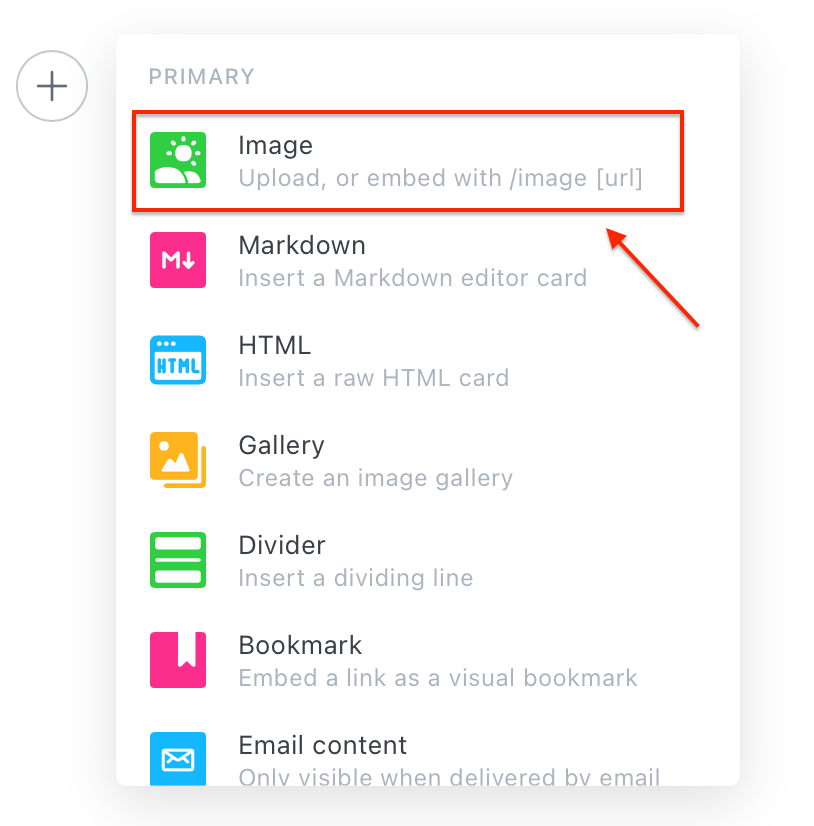
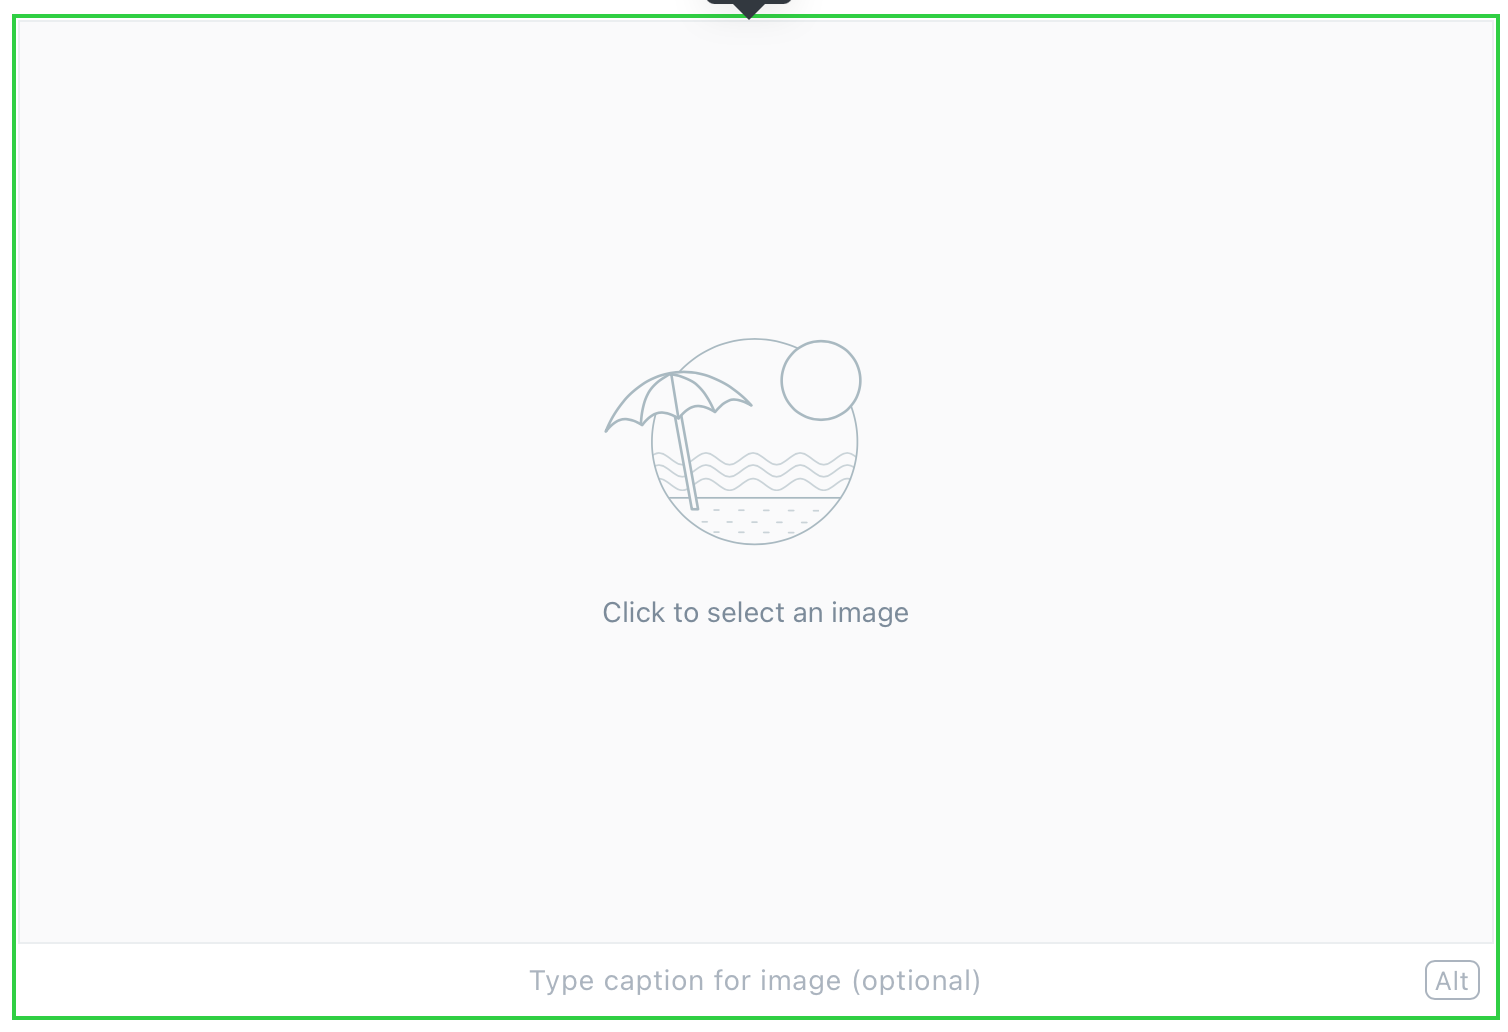
2. A box with a graphic in the middle that reads 'click to select an image' will pop up. When you select this, it will give you the option to choose a file from your computer to upload. Double-click the image or click on the image and press 'upload'. You also have the option of writing text under the picture too.
To upload multiple images in a gallery:
- If you would like to add multiple images in a gallery, then press the 'plus' sign at the left hand side of the post and click 'gallery'.
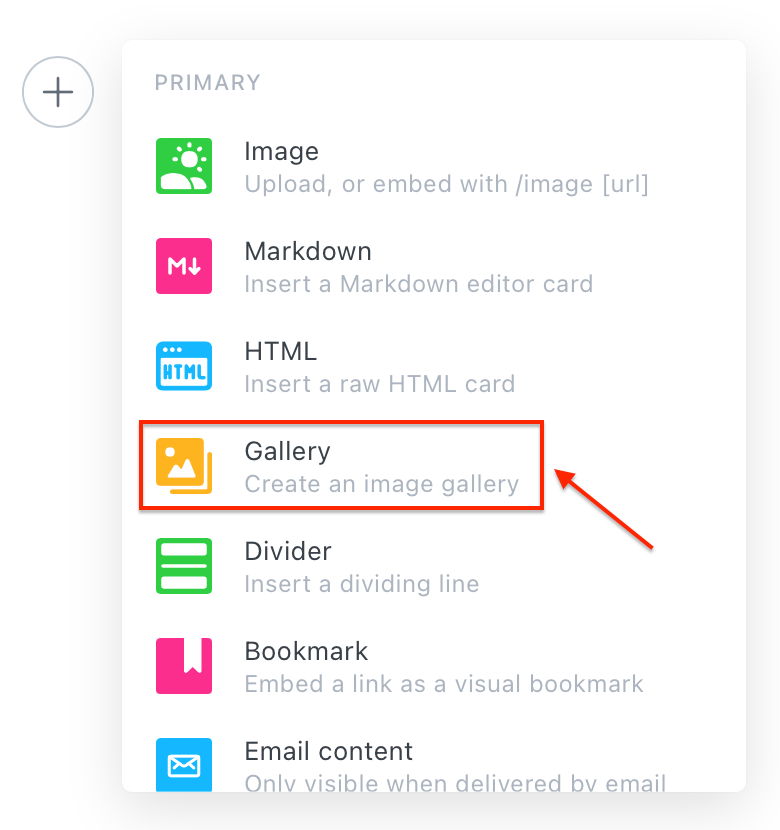
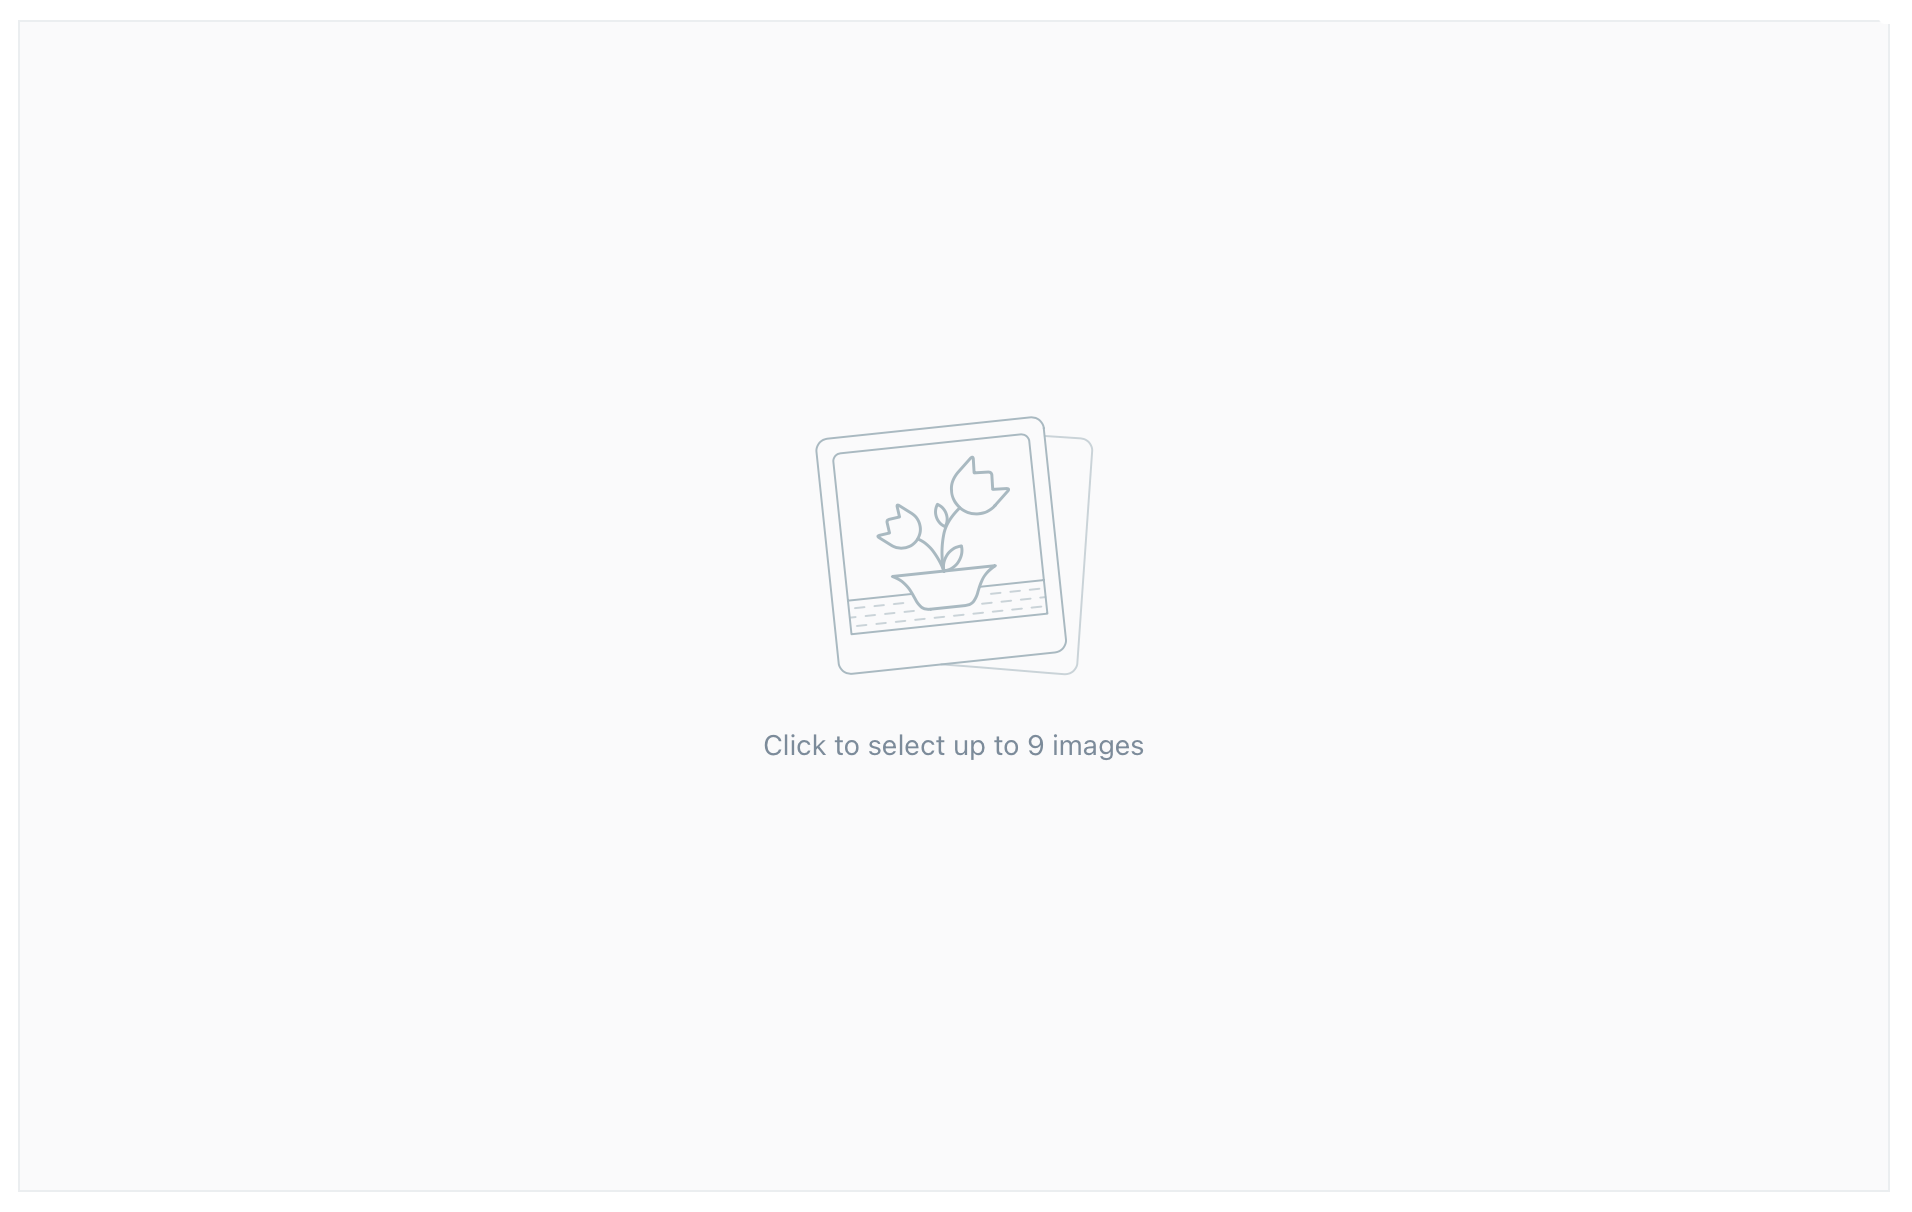
2. A box with a graphic in the middle that reads 'click to select up to 9 images' will pop up. When you select this, it will give you the option to choose a file from your computer to upload.
3. To add more pictures (up to 9), click the 'plus' sign which appears at the top of your picture.
To upload a picture from unsplash:
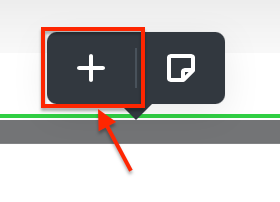
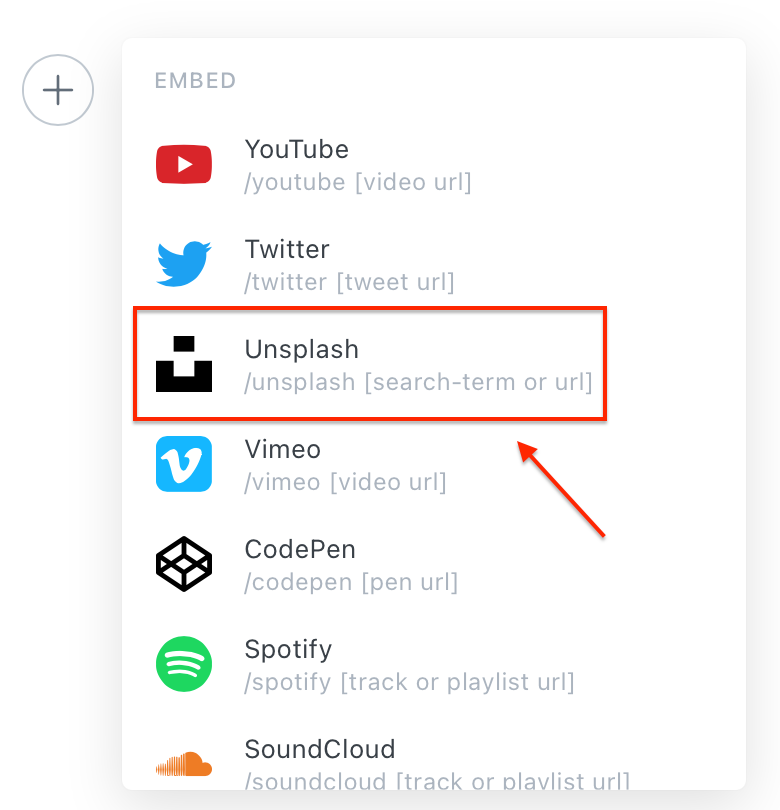
- If you would like to add someone else's picture from unsplash, then press the 'plus' sign at the left hand side of the post and scroll down, then click 'upslash'.
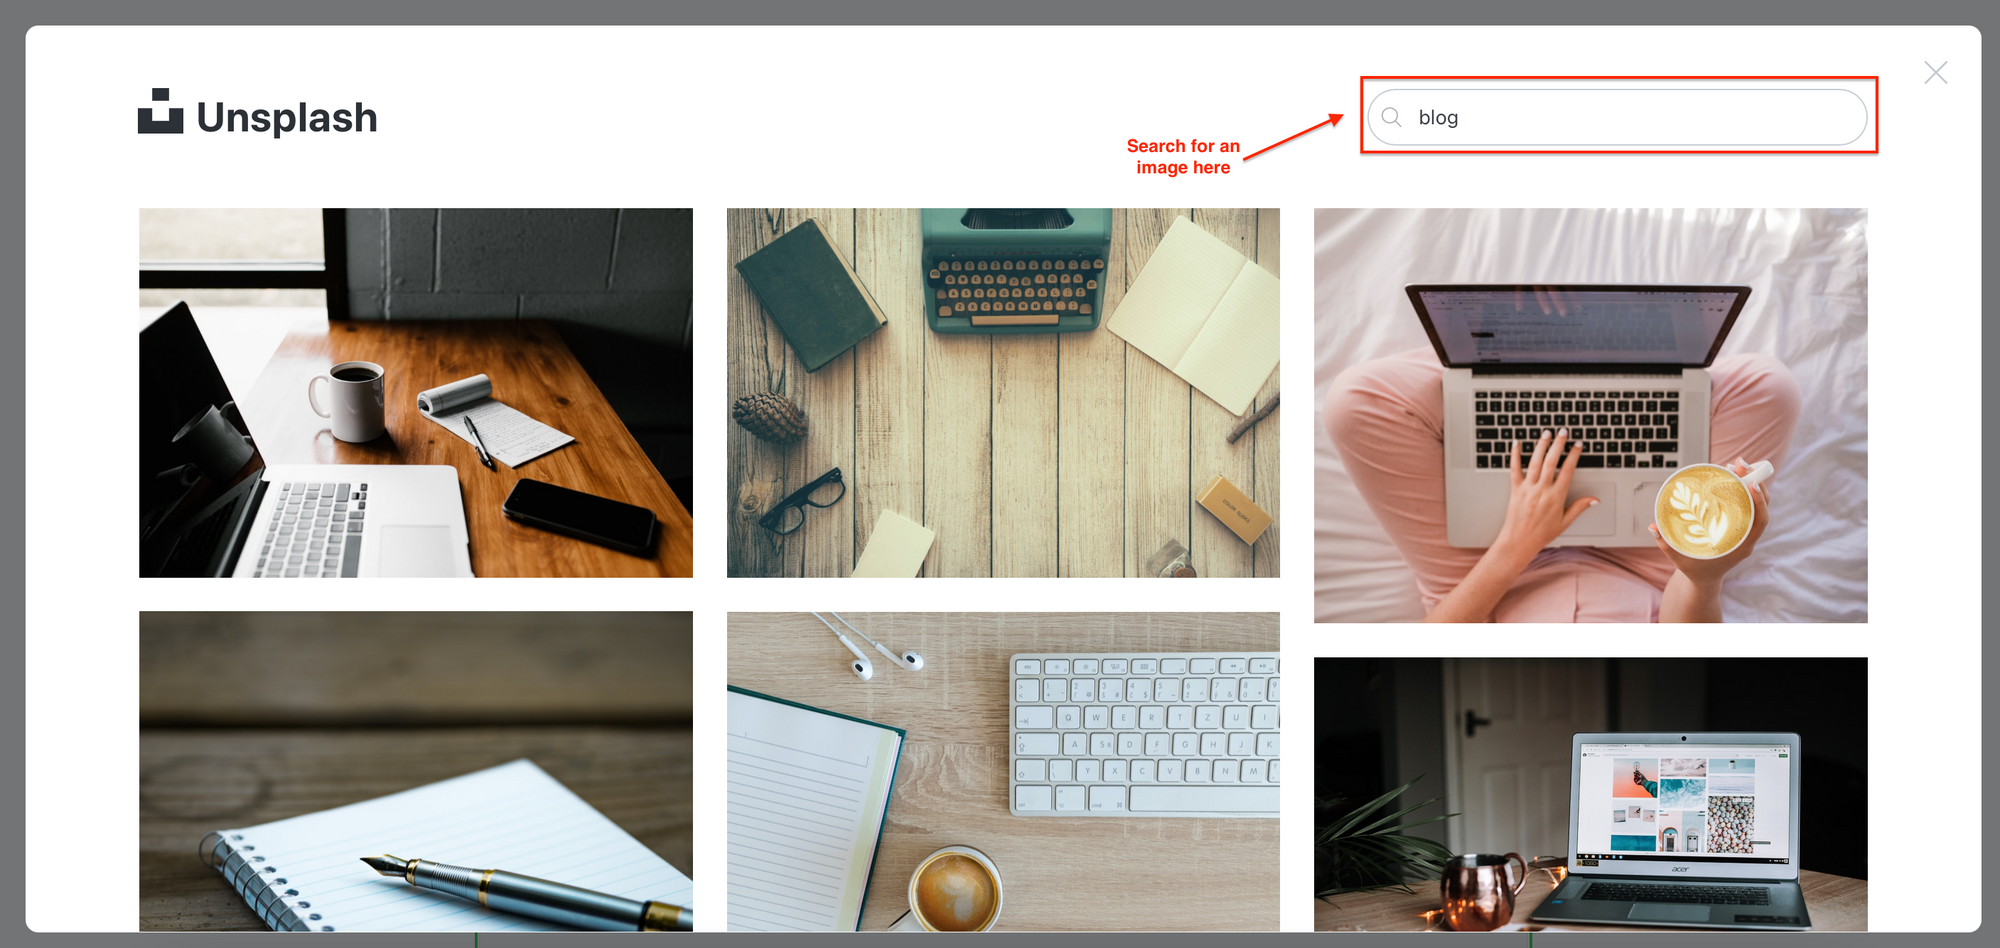
2. It will then pop-up with the unsplash picture library/collection allowing you to search for a picture that fits what you are looking for.
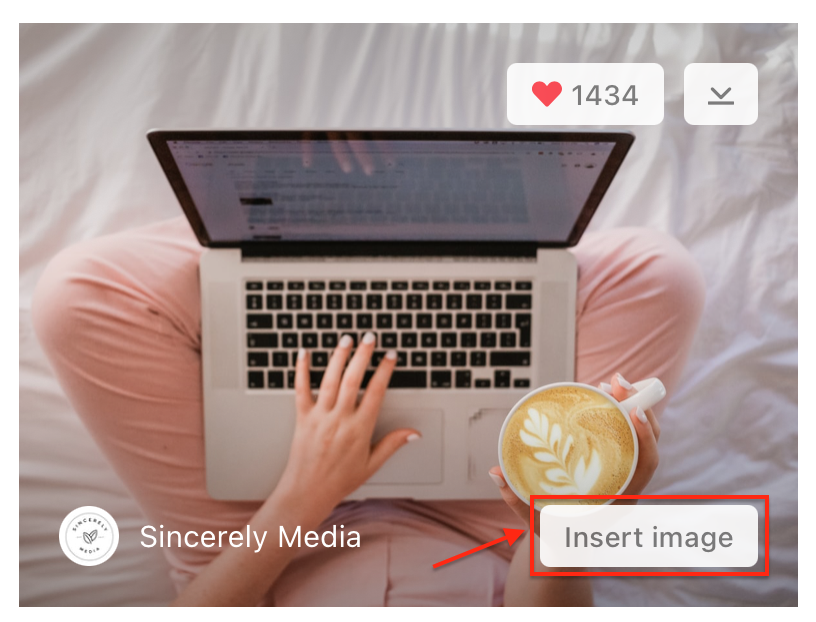
3. Once you've found the perfect picture, hover over it and click the 'insert image' button.
STEP TWO: Add content links for videos, social media, podcasts and more to your posts
You can add a wide variety of content from YouTube, Vimeo, Twitter, Spotify, Soundcloud or another site. To add this content, they all follow the same procedure.
- To add content links to your posts, then press the 'plus' sign at the left hand side of the post and click the content you wish to embed. This could be YouTube, Spotify or other.
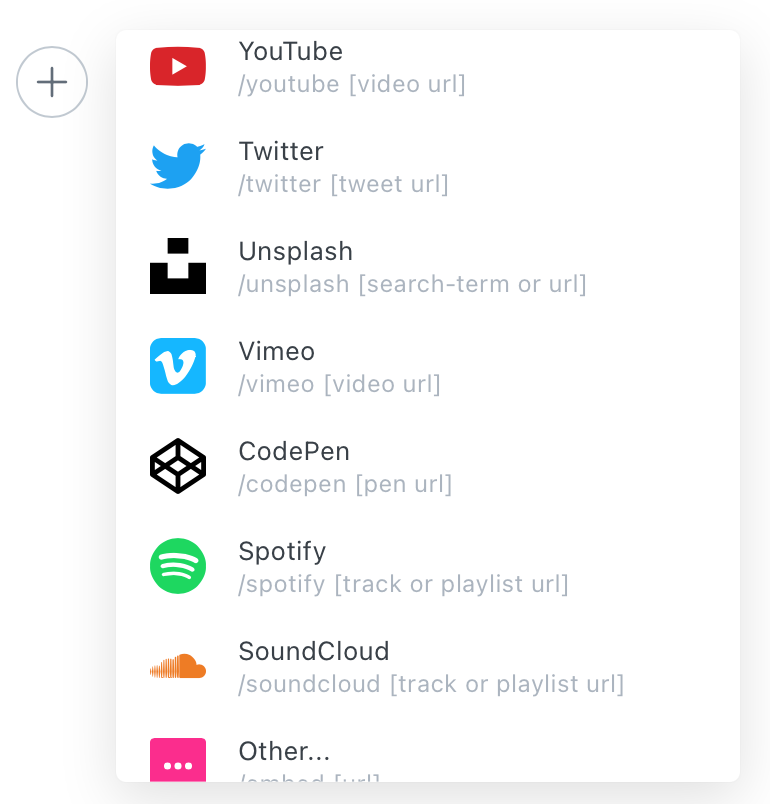
2. Regardless of where you are embedding the content from, it will pop up with a box for you to insert the URL for the content like this...

3. Once you've pressed enter, your content should now be embedded in your post. I tried this with a video from YouTube below and by clicking the play button, you should be able to listen to this.
STEP THREE: For content with no embed link, add a bookmark
Sometimes, content doesn't provide you with an embed link or when you do try to embed it, you might be met with something like this...

Don't panic, there is another way to add the content to your post.
- Press the 'plus' sign at the left hand side of the post and click 'bookmark'.
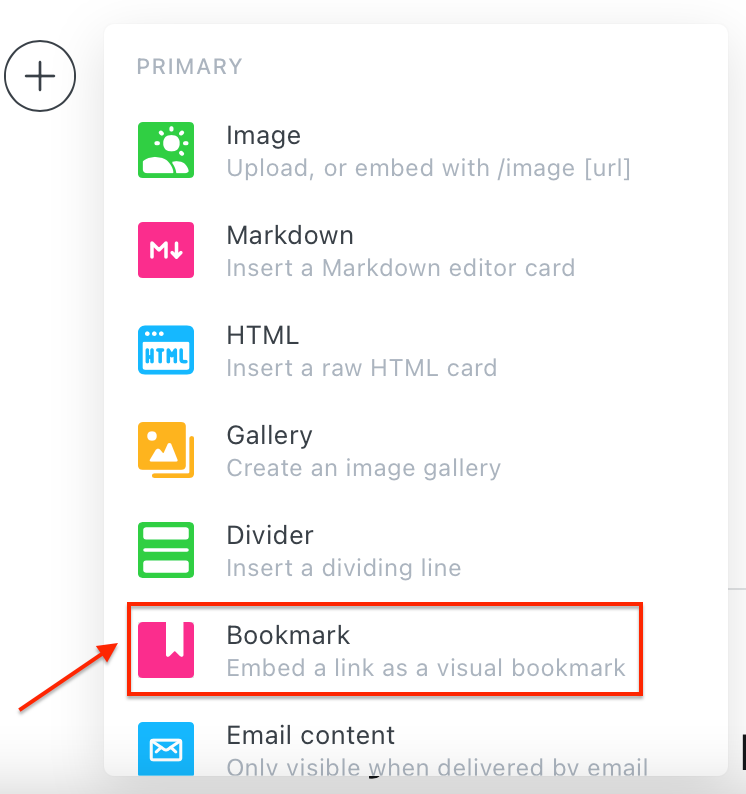
2. You will be provided you with a box for you to insert the URL for the content as a bookmark.

3. Once you have inserted the URL and pressed 'enter', you will now have a bookmark with the link to the content on your post (like the one below).

Alternatively, simply paste the link on the blank line and it will automatically create a bookmark.
Links to my other 'how-to' blog posts:


In the meantime, if you have any questions please don't hesitate to contact me via the contact form.

